
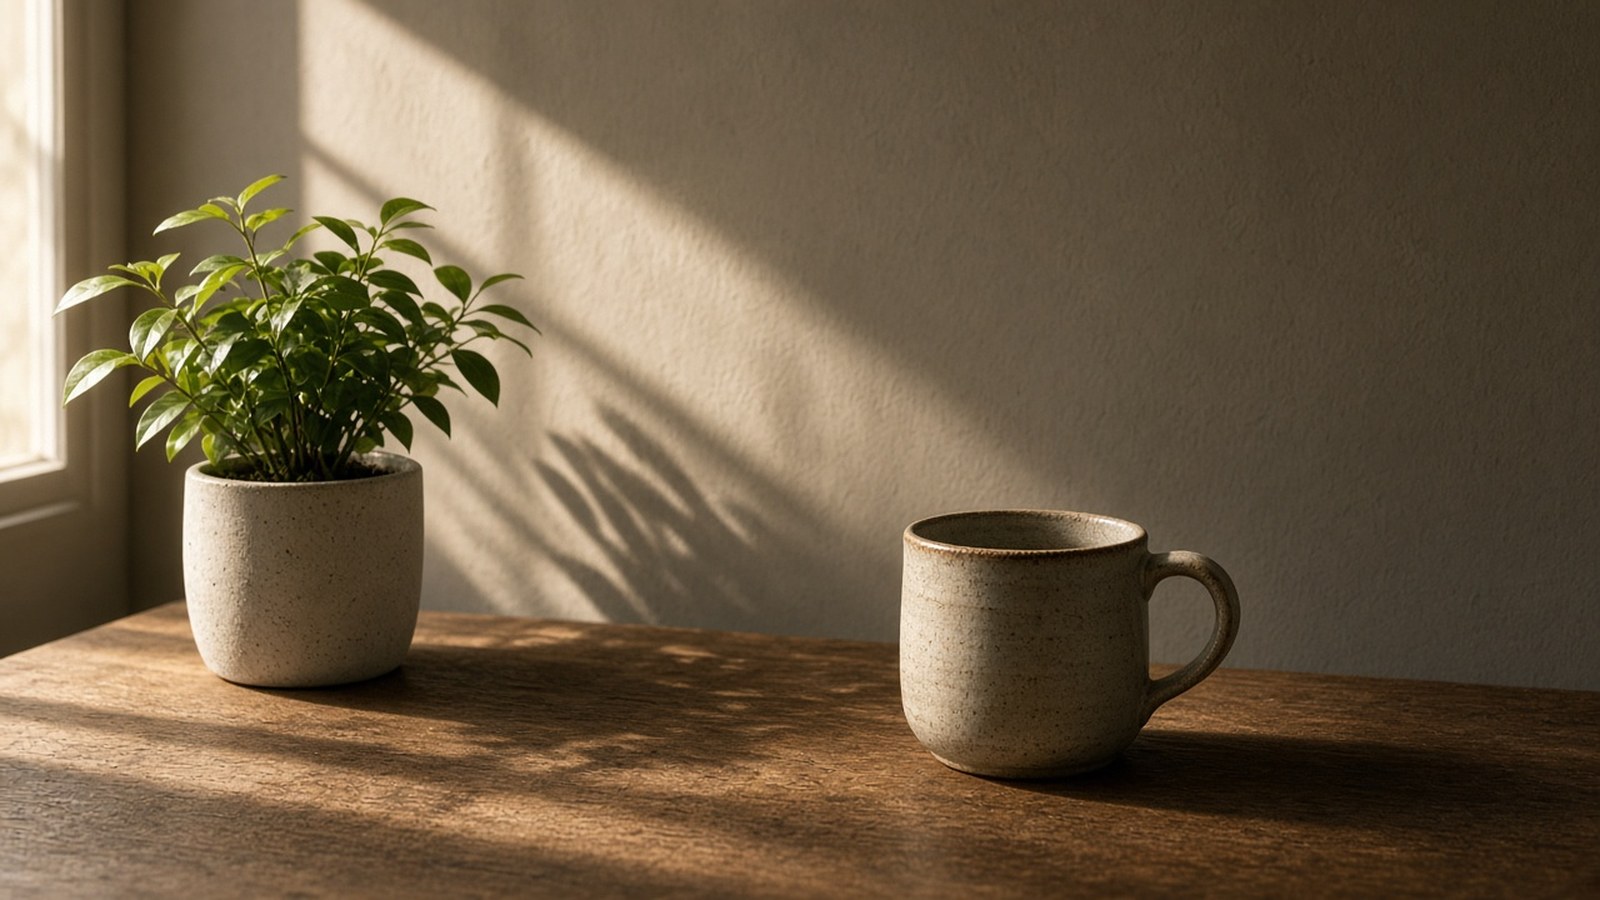

I keep catching myself waiting for “perfect light” – that last half-hour of sun, a soft cloudy day, a pretty window – and missing the ordinary moments in between. With three kids at home, most of my photos happen between homework and dinner, not on a golden-hour schedule. I don’t need a new camera to make those frames better this week. I need to notice where the light is coming from.
Front light, side light, and back light look like three different photos of the same subject. Once I started choosing direction on purpose, I stopped chasing perfect conditions.
That choice still matters in 2026. A lot of photography talk leans toward authenticity and presence – images that feel observed by a person, not polished into oblivion. Trends come and go. What still cannot be automated is me standing in a room, reading the light, and deciding what feeling I want. Direction of light is one of the fastest ways I know to practice that judgment – on a phone or any camera, indoors, outdoors, travel days, family evenings, street walks.
First, forget “bright” for a minute
Brightness is only half the story. Direction is the other half.
Before I press the shutter, I ask myself one question:
Where is the main light relative to my subject – in front, to the side, or behind?
Then a second:
What do I want the photo to feel like – clear and friendly, textured and dimensional, or glowing and dramatic?
When I match those two answers, my photos start looking intentional.
Front light: clear, even, easy to read
Front light sits roughly behind you (or beside your camera), shining onto the subject’s face or front.
What it does well
Shows detail clearly
Keeps colours bright and readable
Flatters beginners because shadows are soft or short
Works for documentary moments, travel “this is the place,” kids, pets, product details
What it can lose
Depth. Faces and walls can look flatter.
Texture. Fabric, stone, skin, and tree bark show less drama.
Try this today
I stand with a window or the sun at my back and photograph a person, a cup of coffee, or a shopfront. Notice how little mystery there is – and how easy the photo is to understand.
Front light is not “bad.” It is the reliable friend. Use it when clarity matters more than mood.
Side light: shape, texture, and that “real” look
Side light hits the subject from roughly the left or right – anywhere from about 30 deg to 90 deg off your camera’s line of sight.
What it does well
Sculpts faces (cheekbones, jaw, nose become clearer)
Reveals texture on walls, food, fabric, landscapes
Adds depth without needing fancy gear
Makes ordinary rooms look more photographic
What to watch
Shadows can go very dark. That can be beautiful – or hide important detail.
If one side of a face falls into black and you did not mean that, move slightly, open a second window, or bounce light back with something white.
Cheap fill (no studio kit)
A white notebook, a sheet of paper, a wall, or a white t-shirt held opposite the light can lift shadows just enough. You do not need a branded reflector to start.
Try this today
Put someone beside a window (not facing it, not with their back to it – *beside*). Turn them a little until one cheek is brighter. Take three frames: no fill, soft fill with paper, and with them rotated a few degrees. Compare. That tiny experiment teaches more than a specs sheet.
Side light is often the fastest path from “snapshot” to “this feels like a photograph.”
Back light: glow, rim light, and silhouettes
Back light puts the main light *behind* the subject, facing toward your camera.
Two looks from the same setup
Rim light / glow: Expose for the subject’s face (or brighten them a little). The edges catch a bright outline. Hair and shoulders can look luminous. Backgrounds may go bright – that is okay.
Silhouette: Expose for the bright background. Let the subject go dark. Shape becomes everything – so choose a clean profile, a tree, a doorway, a bicycle, a person with a clear outline.
Practical tips
On a phone, tap the bright sky or window for silhouettes; tap the face for rim-lit portraits.
On a camera, a little positive exposure compensation (+0.5 to +1) often helps keep faces from turning into shadows when you want glow, not silhouette.
Watch for flare. Sometimes it is beautiful. Sometimes it washes the photo. A hand, a hat brim, or a building edge can block the sun just enough.
Strong shapes win silhouettes. Busy outlines get muddy.
Try this today
At late afternoon or near a bright window, place a person between you and the light. Shoot one silhouette and one “face recoverable” frame. Same place, two moods.
Back light is drama on demand – and it works in city streets, beaches, balconies, and train platforms as well as classic sunset fields.
Soft vs hard light (the other dial)
Direction is one dial. Quality is the other.
Hard light (small, harsh source – midday sun, bare bulb): sharp shadows, high contrast, punchy. Great for graphic shapes and bold street frames. Tough on some portraits.
Soft light (large, diffused source – overcast sky, shade, sheer curtain, open doorway): gentle transitions, kinder skin, easier colour. Great for people and quiet scenes.
You can keep the same direction and change the feeling by moving into open shade, waiting for a cloud, or shooting through a curtain. Direction chooses *where* shadow falls. Quality chooses *how sharp* that shadow is.
A 20-minute practice (phone or camera)
Do this once this week. No new gear required.
Pick one subject near home: a person, a plant, a doorway, your bike, a street corner.
Shoot it front-lit (light behind you).
Shoot it side-lit (turn yourself or the subject ~90 deg ).
Shoot it back-lit (subject between you and the light).
Review on a bigger screen if you can. Ask: which frame feels clearest? which has depth? which has mood?
Write one sentence under your favourite: “I chose ___ light because I wanted ___.”
That sentence is taste training. When a lot of “amazing” photos look similar, taste and judgment are what age well – not the latest aesthetic trick.
Gear in plain English (only what helps)
Any camera works, including the phone in your pocket. Light direction is not a lens upgrade problem.
A window is a studio. Curtains soften. Moving one metre left or right changes everything.
If you own a small flash, learn available light first so flash becomes a choice, not a crutch.
I am not reviewing cameras here, and I am not tying this to any single product launch. The skill holds whether you shoot with a phone, a used body, or something brand new.
A careful note on the current moment
Around early 2026, a lot of photography talk leans toward human presence – real texture, candid feeling, less clinical perfection. Treat trend lists as weather reports, not laws.
What I trust more than any label: if you learn light direction, your photos improve this week, on any platform, with any subject. That is evergreen craft. “Nice and sharp” alone is no longer rare.
Closing: try one thing
This evening, before the light dies, I’d take three frames of the same subject – front, side, and back. A kid at the window, a cup of chai, the bike by the gate – anything nearby.
Do not overthink settings. Move your feet. Move the subject. Look at what the shadows do.
Then pick the one that feels most like *you* were there.
That is the promise of good photography for me: not more gear noise, not fake perfection – just clearer seeing, practiced one ordinary afternoon at a time.
Go make those three frames. Tell the light where to stand by where *you* stand.
Deepu